 Uma
Uma Quick Answer
To decorate a small apartment well, work in this order: get the layout and floor plan right first, then plan storage before buying furniture, choose a color palette, select and place anchor furniture, layer the lighting, add textiles and rugs, then finish with art, plants, and objects. Decorating in this sequence prevents the expensive mistakes that happen when people start with what looks good rather than what works.
Most small apartment decorating mistakes happen because people start in the wrong place. They buy a sofa because they love it, then realize it is too large for the room. They paint an accent wall before deciding on the furniture, then find the color clashes. They add decor before solving storage, then cannot find space for it.
This guide works through the eight steps of decorating a small apartment in the right sequence the sequence that professional designers use. Follow it in order and every decision is informed by the one before it. Skip steps and you end up with an expensive layout that does not work.
Step 1: Get the Floor Plan Right Before Anything Else
Measure Every Room and Every Piece of Furniture You Already Own
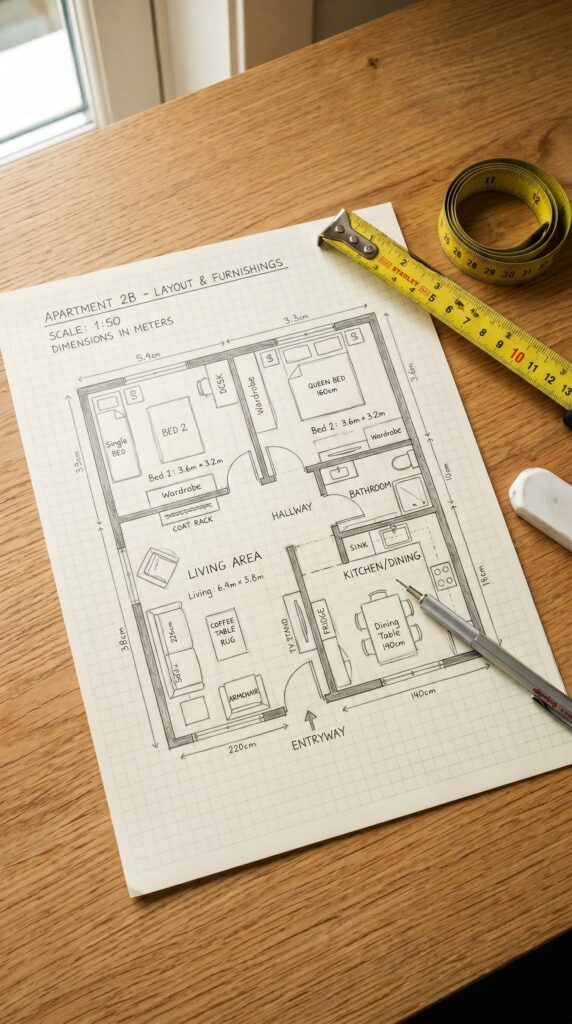
Before buying, painting, or moving anything, measure every room in the apartment — length, width, ceiling height, window positions, door swing arcs, radiator placements, outlets. Then measure every piece of furniture you already own that you plan to keep. Do this with a tape measure, not by estimating. The difference between 8 feet and 9 feet in a small room can determine whether a sofa fits comfortably or creates a cramped bottleneck.
Make a simple floor plan on grid paper. One square equals one foot. Cut out scaled paper shapes for each furniture piece and move them around the paper plan before committing to any physical arrangement. This costs nothing and prevents hours of heavy lifting.
Define the Walking Paths First
Before placing any furniture on the floor plan, draw all the essential walking paths: from the entry door to the bedroom, from the bedroom to the bathroom, from the kitchen to the dining area, from the sofa to the windows. These paths need to be at least 24 inches wide to feel comfortable, and 36 inches is better in primary traffic areas. Place furniture around these paths rather than through them. The paths are non-negotiable; the furniture positions are flexible.
Identify the Main Sightline and Protect It
Every apartment has at least one axis along which the eye can travel some distance. Identify it, trace it on your floor plan, and do not place any tall furniture, hanging elements, or visual obstructions across it. This single sightline is more valuable to the perceived size of your apartment than any decor choice you can make. Keep it clear and the apartment will always feel larger than its square footage suggests.
Step 2: Declutter and Reduce Before You Decorate
Remove Everything You Have Not Used in Six Months
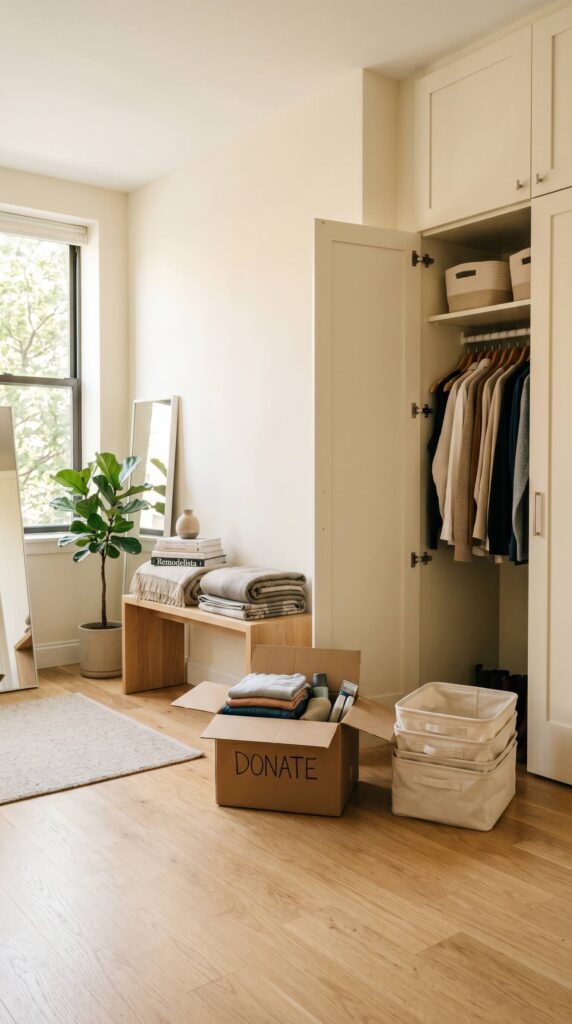
The most common cause of a cluttered, cramped small apartment is not a lack of storage — it is too many objects competing for space. Before buying a single storage product or piece of furniture, do a full audit of everything in the apartment. Remove anything you have not touched in six months, anything that serves no function and no joy, and anything that belongs to a previous apartment or phase of life. Box it up and donate it before decorating around it.
The reduction step feels counterproductive when you are eager to decorate, but it is the most impactful thing you can do. A small apartment with sixty percent of its current objects removed will look more spacious than any arrangement of all of its current objects, regardless of how cleverly the storage is organized.
Audit Every Surface and Every Storage Zone
After the initial declutter, go room by room and audit every storage zone: wardrobe, kitchen cabinets, bathroom under-sink, entry closet. The goal is to know exactly what you have and where it lives before adding storage products to manage it. Over-buying storage products before the audit usually results in buying the wrong size or type of product, which then itself becomes part of the clutter problem.
Step 3: Choose Your Color Palette Before Buying Anything
Pick Three Colors: Dominant, Secondary, and One Accent
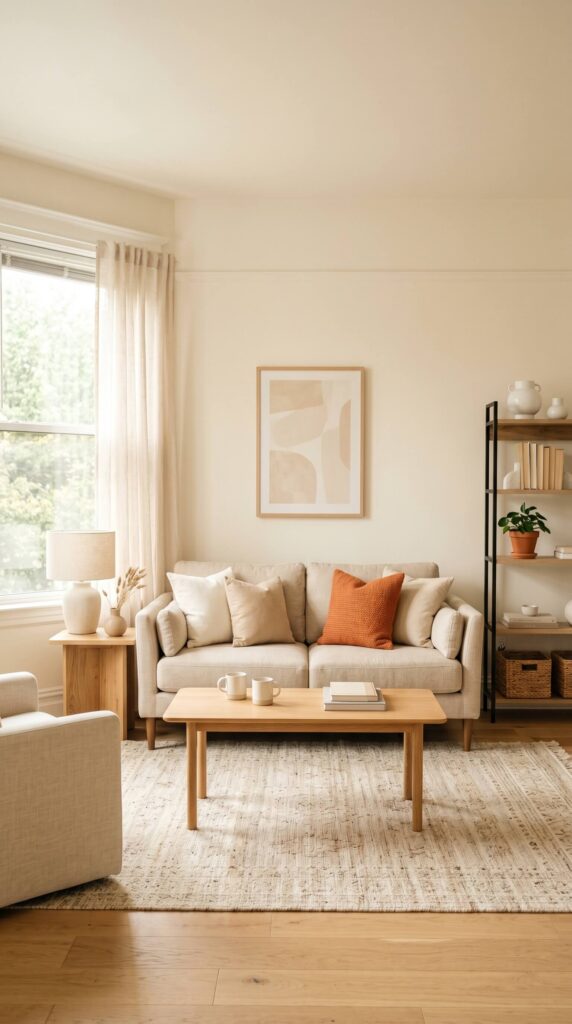
Choose your color palette before buying any furniture or decor. Start with a dominant neutral for walls, large furniture, and floors — warm off-white, soft cream, or warm greige. Choose a secondary neutral for rugs, curtains, and smaller furniture pieces — a slightly warmer or cooler tone in the same family. Then choose one accent color that will appear in small doses only: pillows, a throw, a vase, the pot of a large plant. Write these three choices down and apply them consistently in every room.
The discipline of three colors applied consistently across every room is what creates the sense that a small apartment is one designed space rather than a series of separate rooms. When in doubt about whether to add a fourth color or a new pattern, the answer is usually no. What looks like it is adding interest is usually adding noise.
Test Paint Colors in the Actual Room Before Committing
Paint colors change significantly depending on the light in the room and the time of day. Buy paint samples and apply a 12-inch square patch of every color you are considering directly on the wall you are painting. Look at it in the morning, at midday, and in the evening with artificial light. What looks warm and inviting on a north-facing wall in the morning may look dingy in the afternoon. The only reliable test is in the actual room under actual conditions.
Step 4: Solve Storage Before Selecting Decor Furniture
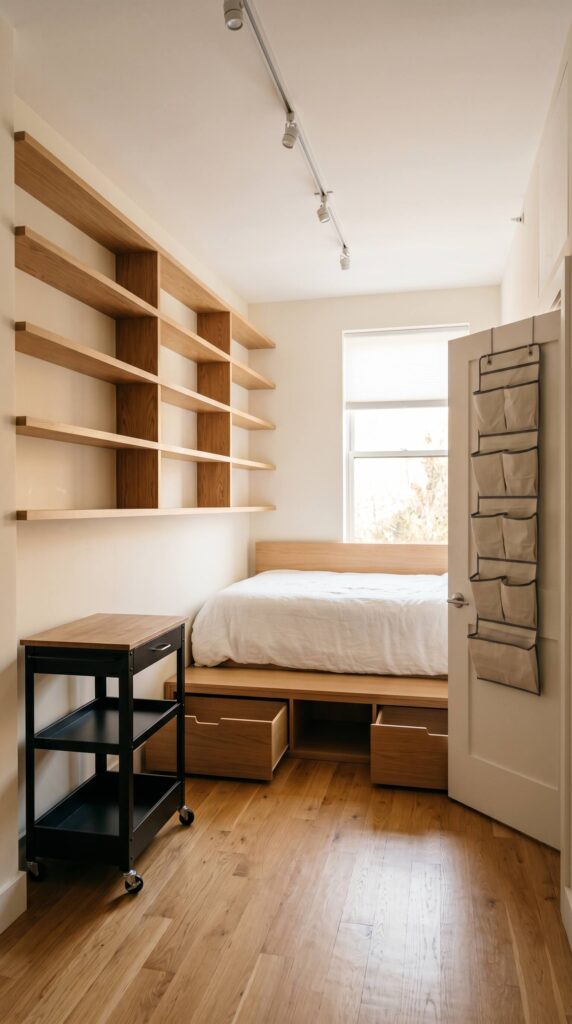
Map Every Storage Solution Before the Furniture Arrives
Before selecting decorative furniture, map where every category of storage will live in the apartment. Clothes: wardrobe plus under-bed drawers. Kitchen tools: inside cabinet plus one pegboard wall. Bathroom toiletries: under-sink plus over-door. Linens and bedding: storage ottoman plus wardrobe top shelf. Solve the home problem for every category of object first. Once storage is mapped, every furniture purchase is evaluated partly by whether it adds to the storage system or competes with it.
Choose Multi-Function Furniture for Every Major Purchase
In a small apartment, every major furniture purchase should do at least two jobs. The bed stores things. The sofa or ottoman stores things. The console behind the sofa is also the workspace. The dining bench has a lift-top compartment. Single-purpose furniture is a luxury that a small apartment rarely has room for. Before finalizing any furniture purchase, ask whether there is a version that does the same job plus stores something. In most categories — sofas, beds, ottomans, benches — that version exists and costs roughly the same.
Step 5: Place Anchor Furniture First
IMAGE PROMPT: Professional interior design photograph, small apartment living room at the anchor furniture stage, main sofa placed and floating from the wall, area rug positioned underneath with all four sofa legs on it, the room feels balanced and grounded but not yet fully decorated, no throw pillows art or plants yet, just the foundational furniture in place, warm neutral tones, natural light, no people, editorial interior photography, 1024x1536px portrait
Start with the Three Anchor Pieces in Each Room
Every room has two or three anchor pieces that determine where everything else goes. In the living room: the sofa, the rug, and the main light. In the bedroom: the bed, the wardrobe, and the window treatment. In the kitchen: the prep surface, the storage system, and the main light. Place these three anchor pieces first and get their position exactly right before adding anything smaller. The anchor pieces are hardest to move and most disruptive to change — they deserve the most attention.
Position for Function First, Aesthetics Second
When placing anchor furniture, prioritize function over aesthetics in the first pass. The sofa position that allows the most comfortable viewing angle for the TV and the best conversation layout matters more than the sofa position that looks symmetrically balanced from the doorway. The bed position that gives comfortable clearance on both sides matters more than the one that centers perfectly under the window. Function first. Once the functional positions are determined, adjust for aesthetics within those constraints.
Step 6: Layer the Lighting
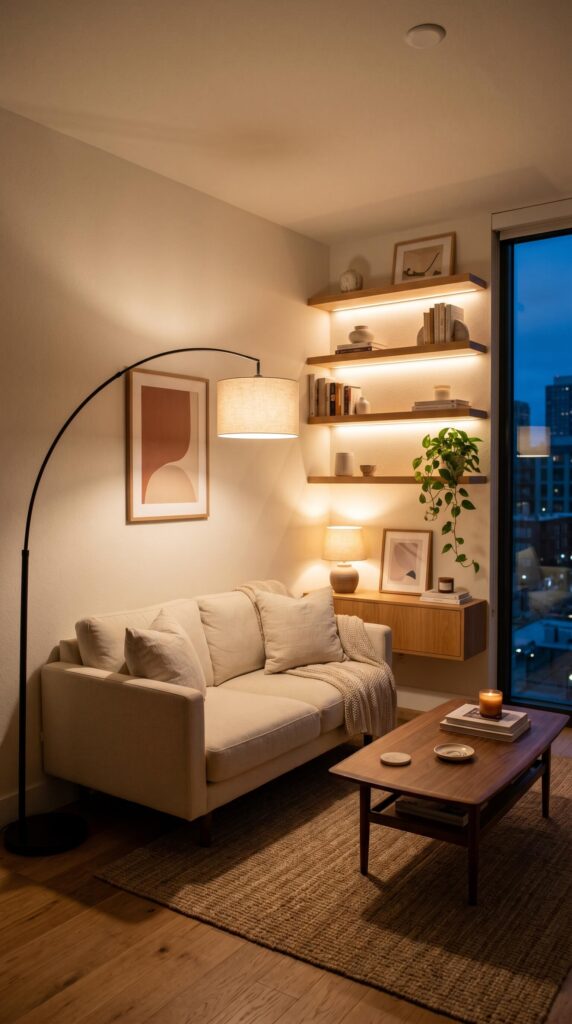
Plan Three Light Sources Per Room Before Plugging Anything In
Every room in the apartment should have three sources of light: a main source that provides enough illumination for the room’s primary activity, a secondary lamp that creates a warm pool of light at a different height, and an accent source — shelf lighting, a candle, under-cabinet strips — that adds depth and warmth. Plan the positions of all three before plugging anything in. The floor lamp position, the table lamp position, and the accent light position should be decided as a system, not placed one at a time wherever there is an outlet.
Switch Every Bulb to 2700K Warm White
Before adding any other light source to the apartment, replace every bulb in every existing fixture with a 2700K warm white equivalent. Cool or daylight bulbs (4000K and above) make small rooms feel clinical and highlight every limitation of the space. Warm bulbs make the same room feel cozy and designed. This ten-minute change costs under twenty dollars and immediately makes every room in the apartment feel better. It is the single most cost-effective lighting upgrade available.
Step 7: Add Textiles and Rugs
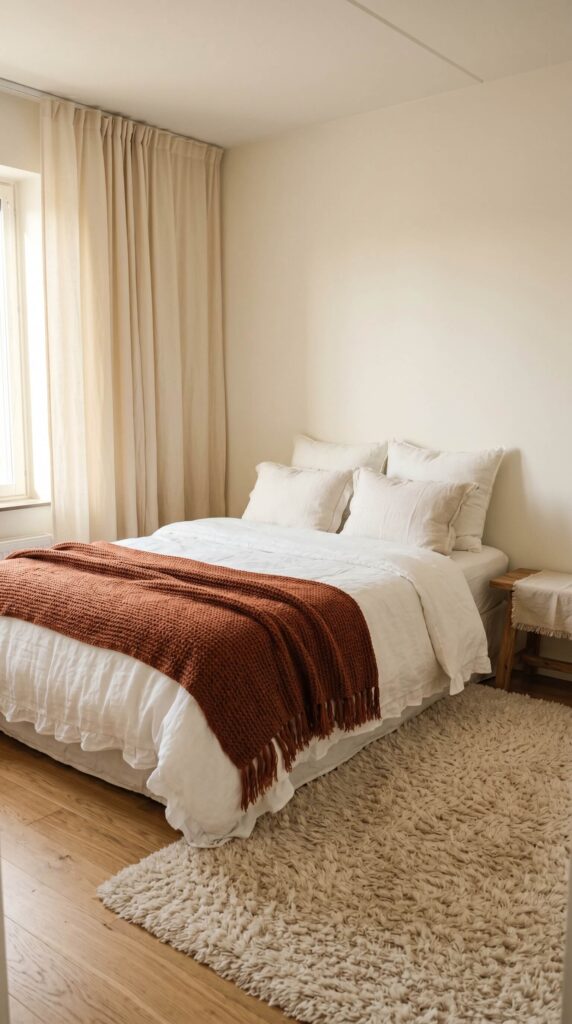
Rugs and Curtains Before Pillows and Throws
Add textiles in order of scale: large rugs and floor-to-ceiling curtains first, then bed textiles and upholstery, then throw pillows and blankets last. Large rugs and curtains set the tonal foundation for the room. Everything that comes after should work within the palette and texture they establish. Adding pillows and throws before the large textiles are in place often results in a clash that requires starting over when the rug finally arrives.
Apply the Texture Rule — Vary Texture, Unify Tone
Across every textile in every room — rug, curtains, sofa fabric, throw pillows, blankets — vary the texture but keep the tone consistent. A waffle-weave rug, linen curtains, boucle cushions, and a chunky knit throw can all live together beautifully as long as they are all in the same warm cream-to-ivory tonal range. The same four pieces in four different colors create chaos. Texture variation creates richness; color variation creates noise.
Step 8: Finish with Art, Plants, and Objects — Then Edit Down
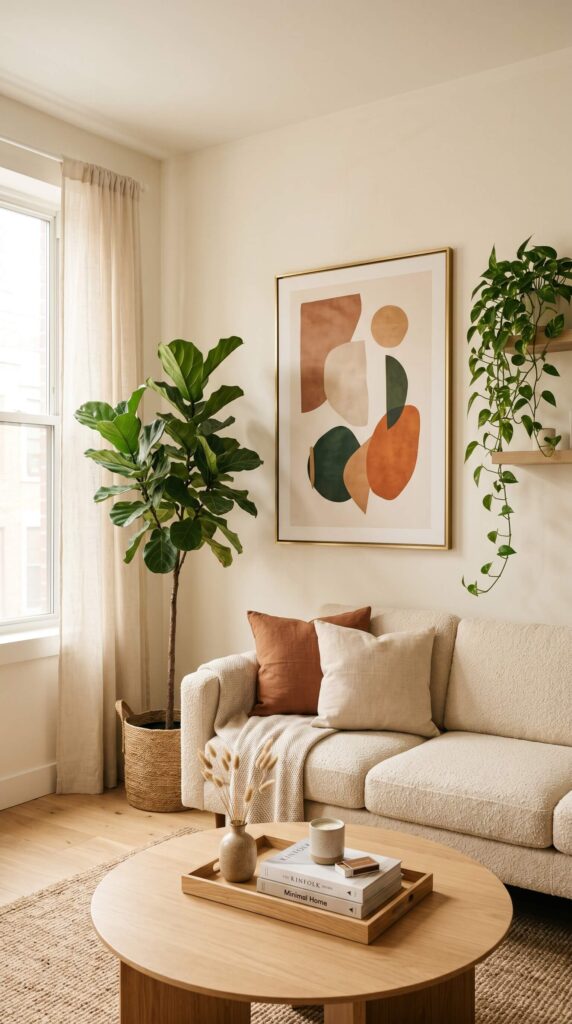
Art First, Then Plants, Then Small Objects
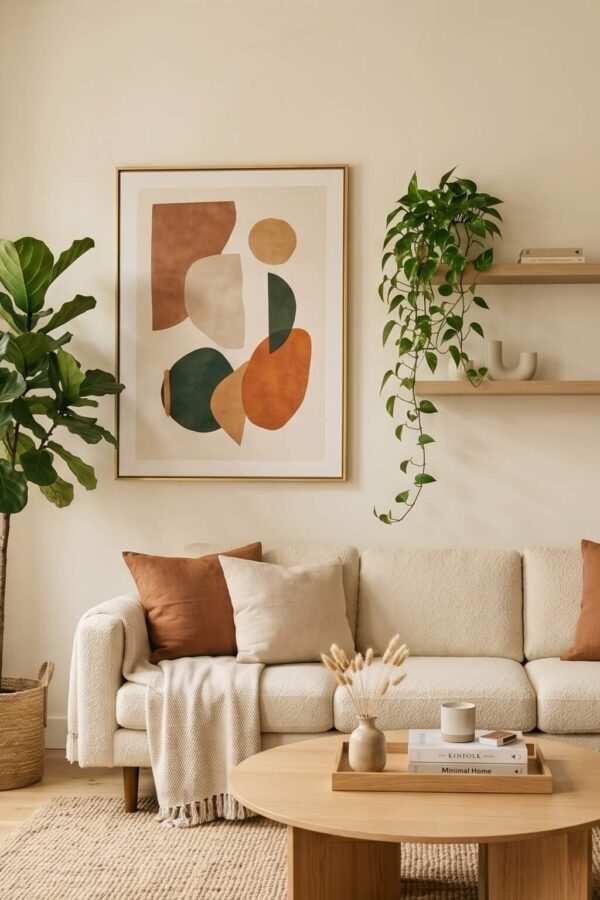
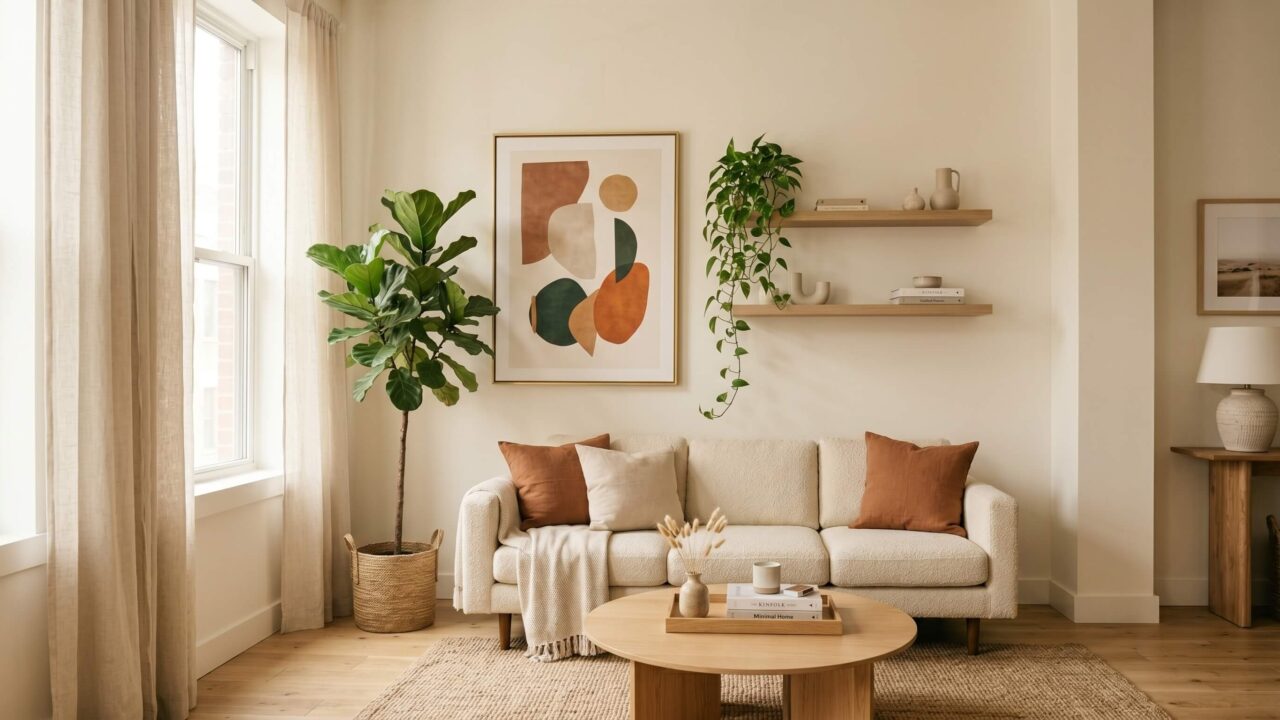
Add finishing touches in order: hang or lean art in every room first, then bring in plants, then add small objects — candles, vases, books, trays. Art establishes the visual anchors for each wall. Plants establish the organic scale and placement. Small objects fill the gaps within what the art and plants have already composed. Adding small objects before the art and plants are in place almost always results in too many small objects filling too much surface area.
Edit Everything Down by Half After the First Pass
After the apartment is fully decorated, remove half of everything you added in the finishing touches stage. This is the most reliable editing technique in small-space decorating. The first instinct is always to add more — more objects on shelves, more pillows on the sofa, more things on the coffee table. The space almost always looks better with half as many things. Take everything off the shelves, put back only what you genuinely want there, and put the rest in storage for a month. If you do not miss it, donate it.
Key Takeaways
- Measure everything and test the floor plan on paper before moving a single piece of furniture
- Declutter before decorating — removing objects does more than adding storage
- Choose a three-color palette before buying any furniture or decor
- Solve storage before selecting decorative furniture — every major piece should do two jobs
- Place anchor pieces first, position for function before aesthetics
- Plan three light sources per room and switch every bulb to 2700K warm white
- Add textiles in order of scale: rugs and curtains before pillows and throws
- Vary textile texture within a unified tonal palette
- Art, then plants, then small objects — in that order
- Edit every room down by half after the first decoration pass
Frequently Asked Questions
How long does it take to decorate a small apartment properly?
Done in the right order, a one-bedroom apartment can be fully decorated over two to three weekends. The floor plan and declutter take one session. Painting takes a weekend. Furniture arrives over the following weeks. Textiles and finishing touches take one more session. Rushing any step — especially the floor plan or the declutter — creates problems that take longer to fix than doing them properly the first time.
How much should I spend decorating a small apartment?
The most impactful budget allocations in a small apartment are: one quality rug that fits the main zone properly, one large statement art piece per main room, and lighting updates throughout. These three categories make more difference than any other purchases. Furniture should be chosen for function and longevity first — one quality sofa that fits properly is worth more than three sofas that were cheap enough to replace. Avoid buying decorative objects until the functional foundation is complete.
What should I decorate first in a new apartment?
The bedroom first, always. It is the most personal space and the one where getting a good night’s sleep in a calm environment matters most during a transition. Then the kitchen, which affects daily function most directly. The living room last — it benefits most from accumulated choices and personal objects that take time to collect.